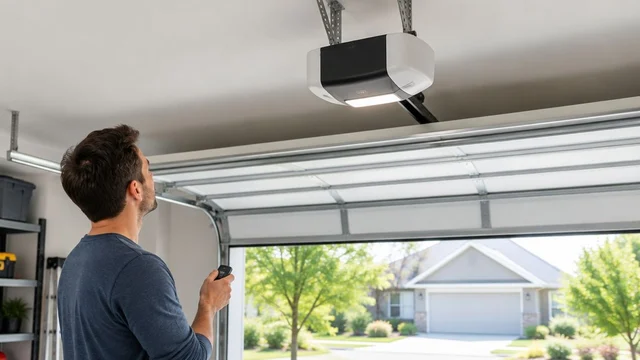
Your Lexington garage door can stop closing when something blocks the safety-sensor beam, the lenses are dirty, the sensors no longer face each other, or the opener loses a sensor signal. Direct sunlight, damaged wiring, and a separate door fault can also produce similar symptoms. Clear the doorway and inspect from a safe position; do not bypass the sensors, force the door, or increase opener force.
TL;DR
- Garage door sensors not working Lexington: check for obstructions, dirty lenses, and inconsistent indicator lights before requesting opener service.
- Derby Strong provides garage door repair and opener service for Lexington homeowners and businesses.
- A crooked door, loose cable, or damaged track requires professional inspection, not sensor adjustment.
- Sensor light colors and opener error codes depend on the model; use the matching manufacturer manual.
Why This Matters for Your Door
A door that refuses to close is inconvenient. A door that closes without functioning safety protection is a different problem: you cannot treat a bypass as a repair. The sensors must detect an interrupted beam while the opener’s other safety functions remain operational.
Derby Strong provides garage door repair and opener service in Lexington. For this problem, the useful distinction is between an accessible obstruction you can remove and a fault that requires work on electrical connections, door hardware, or the opener.
Why do your Lexington garage door sensors keep stopping closure?
The opener needs a valid signal from its photoelectric safety system before normal powered closure. When that signal disappears, the door can refuse to descend or reverse, depending on the opener and the point at which the fault occurs. The symptom identifies a safety interruption, not automatically a failed sensor.
Start with what you can see without touching the door mechanism. Keep people, pets, vehicles, and stored items clear, and compare your observations with the owner’s manual for your exact opener.
| What you observe | What it points toward | Safe next step | What it does not prove |
|---|---|---|---|
| A box, tool, plant, or other object crosses the beam | An obstructed sensor path | Move the object while the door is stationary | That alignment and wiring are sound |
| Dust, debris, or cobwebs cover a lens | A dirty optical surface | Gently clean the accessible lens exterior | That the sensor needs replacement |
| A sensor visibly points away from its opposite unit | A disturbed mounting position | Photograph it and request inspection | That bending the bracket is safe |
| An indicator is dark or intermittent | A power, wiring, alignment, or component problem | Record the light behavior and check the manual | That the sensor itself has failed |
| Closure fails when sunlight reaches a lens | Possible light interference | Record the timing and light direction | That sunlight is the only cause |
| The door looks crooked or a cable hangs loose | A mechanical door fault | Stop operating the door | That adjusting sensors will correct it |
The table is a sorting tool, not a replacement for inspection. Several faults can occur together, and an indicator light alone does not establish that the complete door system is safe.
Safe checks before you request service
- Stop operation. Let the door remain stationary. If it is crooked, partly open with visible damage, or supported unevenly, keep the area clear and skip the remaining checks.
- Clear the beam. Look across the bottom of the doorway for objects, debris, or hanging material. Remove only items you can reach without going beneath an unstable door or touching its hardware.
- Clean the lenses. Use a soft, dry cloth on the accessible exterior. Do not spray cleaner into the housing, open the sensor, or pull its cable.
- Record the lights. Note which indicator is lit, dark, steady, or blinking. Photograph both sensors and any opener error display without reaching toward moving parts.
- Check the manual. Match the opener model and its documented sensor behavior. After removing a simple obstruction, make an ordinary closing attempt only if the door appears undamaged and the doorway is completely clear.
If the fault remains, stop repeated attempts. Do not loosen brackets, reposition tracks, splice wires, or hold controls to defeat a safety interruption.
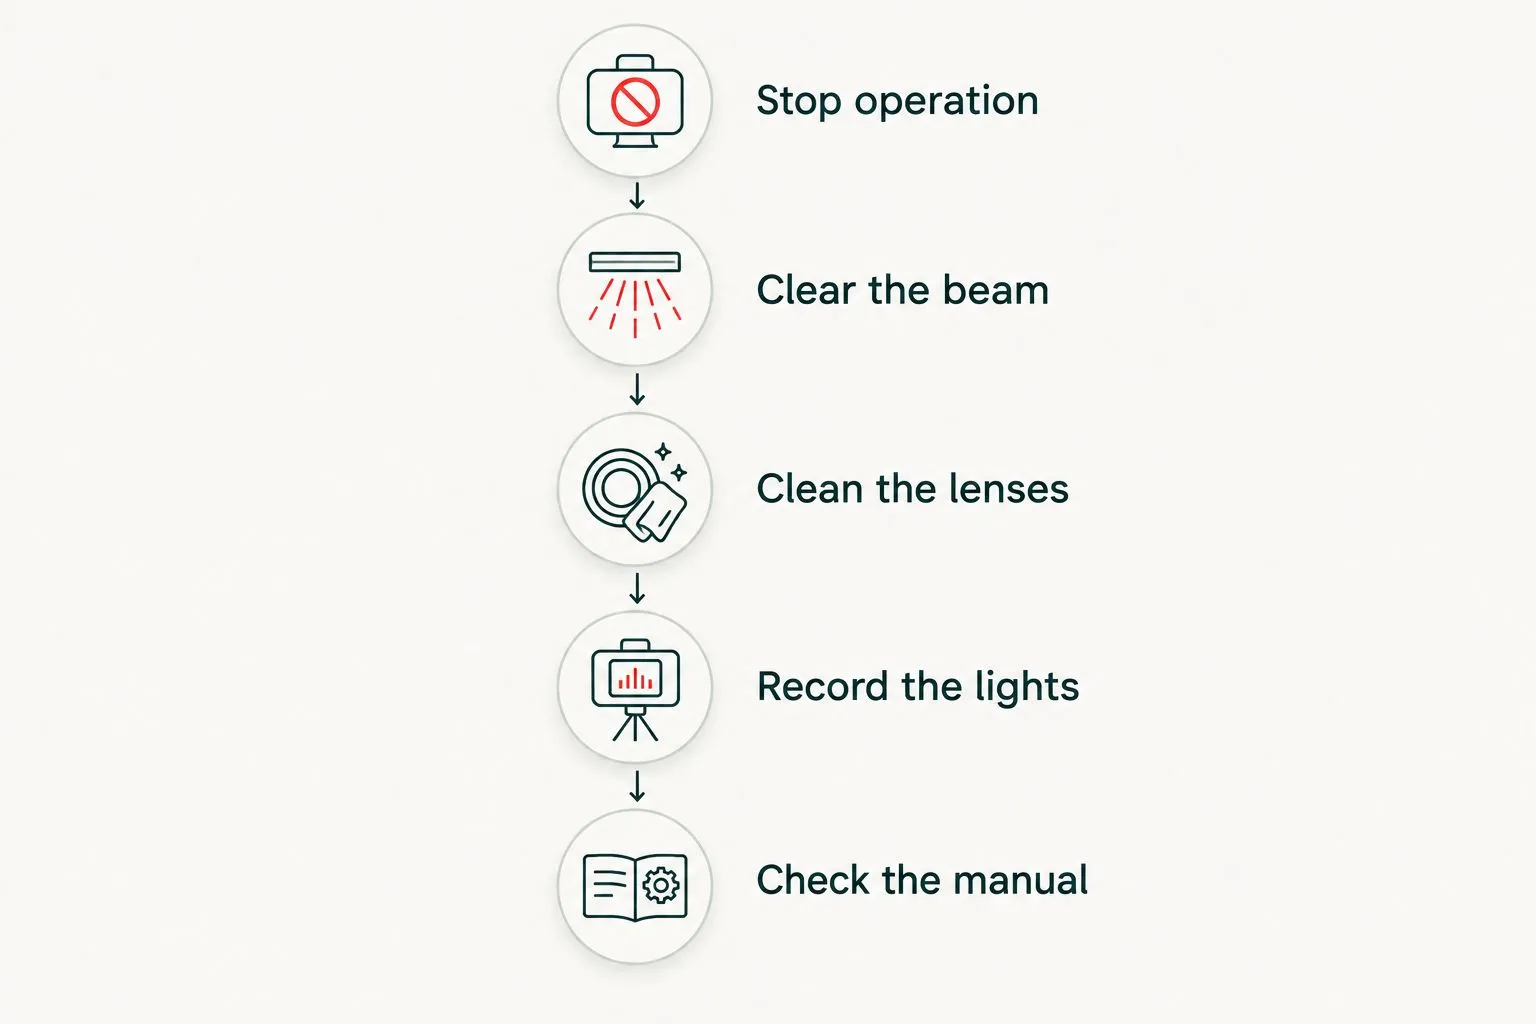
Complete observations without adjusting door hardware or bypassing the safety system.
What do the sensor lights actually tell you?
Sensor indicators help locate a fault, but their meanings are model-specific. Do not assume that a particular color means aligned, that blinking always means an obstruction, or that illuminated sensors rule out every problem.
Find the opener’s model information from an accessible label or your existing paperwork. Do not climb onto the door or improvise a platform to read it. Use the current manufacturer instructions for that exact model rather than advice for a visually similar opener.
Useful observations include:
- Whether each indicator remains steady while the door is stationary.
- Whether an indicator changes during an ordinary closing attempt.
- Whether the opener flashes a light or displays an error message.
- Whether the failure happens consistently or only under a particular condition.
Report the pattern, not your diagnosis. Saying that the receiving sensor goes dark when sunlight reaches it is more useful than saying the opener needs replacement. Neither observation authorizes you to handle wiring or adjust door hardware.
Why sensor-related closure problems vary
The same refusal to close can come from different parts of the safety system. These factors explain why cleaning a lens fixes one obstruction but does nothing for a damaged cable or an unstable mount.
- Objects in the beam path. Stored items, debris, and hanging material can interrupt the signal even when they do not physically touch the door.
- Lens condition. Dirt or a film on the optical surface can interfere with transmission or reception. Cleaning addresses contamination, not internal damage.
- Sensor position. A disturbed mount can leave the units facing different directions. Repairing brackets or nearby door hardware belongs to a professional.
- Light exposure. Direct sunlight reaching a receiving sensor can interfere with some systems. The remedy must follow the manufacturer’s instructions without blocking the safety beam.
- Electrical continuity. Loose connections, damaged insulation, or a component fault can interrupt the signal. Visible damage requires service rather than a homeowner splice.
- Door condition. A binding, crooked, or damaged door can stop or reverse for reasons unrelated to the photoelectric sensors. Raising opener force does not repair that fault.
For your Lexington property, describe the actual doorway conditions rather than assuming a local weather explanation. A failure tied to sunlight at the opening is different from one that began immediately after something struck a sensor.
Can sunlight stop your garage door from closing?
Direct sunlight can interfere with some garage door photoelectric receivers. A timing pattern is useful evidence: note whether the problem appears when sunlight falls directly onto a lens and disappears after that light moves away.
Do not tape over a lens or build a cover that blocks the beam. Avoid relocating the sensors yourself. A professional can evaluate alignment and any manufacturer-approved shielding or placement remedy while preserving the safety function.
What should you photograph when sunlight seems involved?
Photograph the doorway from a safe standing position with the door stationary. Include the sensor, the direction of the light, and nearby objects that might interrupt the beam. Avoid capturing only a close-up that hides the surrounding conditions.
This record helps separate light exposure from a coincidental obstruction or disturbed sensor. It does not prove that the sensor is defective, and it does not justify replacing the opener without further diagnosis.
When should you stop checking and call a professional?
Stop when the problem extends beyond removing an obstruction or cleaning an accessible lens. Damaged wiring, loose mounting hardware, repeated unexplained reversals, or visible door damage need professional inspection.
Residential photoelectric garage door sensors are generally installed no higher than 6 inches above the floor, consistent with established residential safety guidance. If yours appear unusually high, record their location for the technician; do not relocate them yourself or apply a residential setup assumption to a commercial door system.
A low sensor position helps detect an obstruction near the floor. It is not permission to reach into the tracks, disturb brackets, or work beneath a door that is not securely supported.
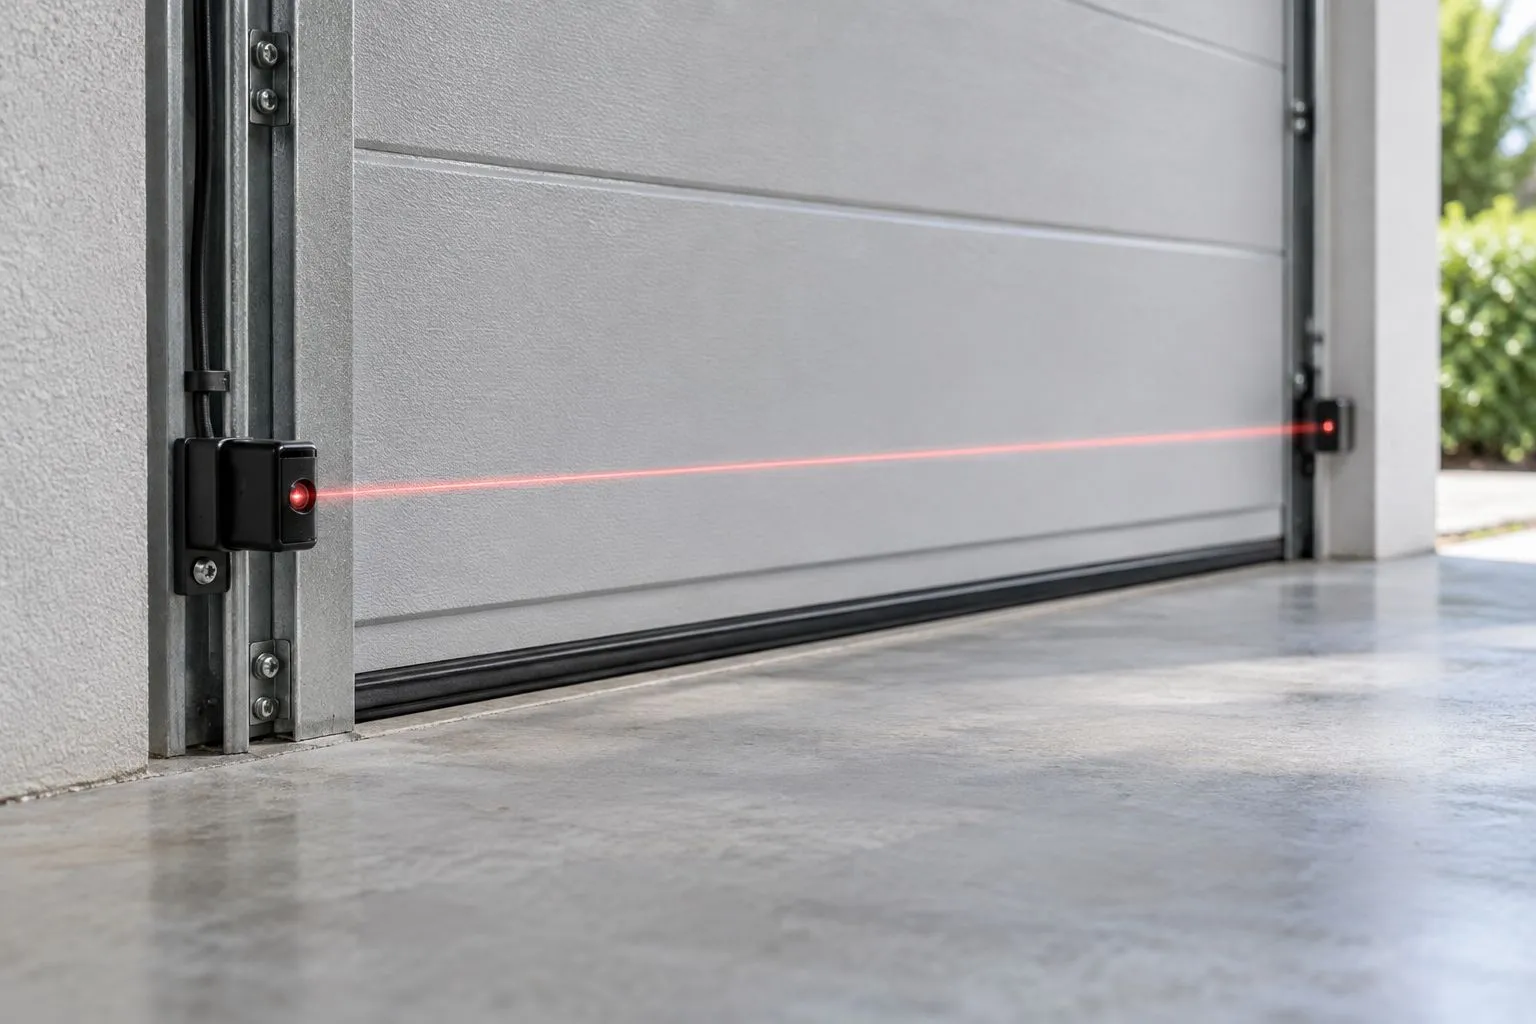
Illustrative photo, not a Derby Strong project; keep the sensor path clear without changing its mounting.
Use these boundaries to decide whether to continue observing or stop entirely:
| Condition | Best for | Benefit | Limitation or safety boundary |
|---|---|---|---|
| Clear the beam and clean accessible lenses | A stationary, undamaged door with an obvious obstruction | Removes a simple interference source | Does not repair wiring, alignment, or components |
| Record lights and consult the manual | A persistent fault without visible mechanical damage | Gives the technician model-specific evidence | Indicator behavior is not a complete safety test |
| Request professional diagnosis | Repeated failures, electrical damage, or disturbed mounts | Addresses the cause rather than bypassing protection | The symptom alone cannot identify the required repair |
| Stop using the door | Crooked travel, loose cables, damaged tracks, or an unstable door | Avoids further operation of a damaged system | The door must remain out of use until assessed |
Do not pull the emergency-release cord on an open door with suspected spring, cable, or balance damage. Disconnecting the opener can leave the door unsupported. Keep everyone away and explain the door’s position when requesting service.
Do you need new sensors or a new garage door opener?
A closing failure alone does not justify replacing either component. An obstruction, contaminated lens, disturbed mount, damaged wire, failed sensor, and opener fault require different repairs. Ask for the identified cause before approving replacement.
| Repair path | Best for | Main advantage | Main limitation |
|---|---|---|---|
| Correct an obstruction or lens contamination | A confirmed external interruption | Keeps functioning equipment in place | Will not resolve an electrical or mechanical fault |
| Repair wiring or mounting professionally | Confirmed connection or mounting damage | Addresses the affected part of the system | Other components still need appropriate checks |
| Replace compatible sensors | A diagnosed sensor failure | Replaces the failed safety component | Compatibility must match the opener documentation |
| Repair or replace the opener | A diagnosed opener fault | Addresses a fault beyond the external sensors | Unnecessary when the problem is elsewhere |
Derby Strong garage door repair and opener service is relevant for Lexington owners whose closure problem remains after safe obstruction and lens checks. The service scope includes these systems; it does not establish which part your door needs before inspection.
A sensor replacement must follow the opener manufacturer’s compatibility instructions. Matching appearance or wire colors is not enough. For any repair proposal, ask what failed, how that conclusion was reached, and how the complete safety system will be checked afterward.
What should you tell the technician before a Lexington service visit?
Give the technician the opener model, the door’s current position, the indicator pattern, and what happens during an ordinary closing attempt. Mention any recent impact near a sensor or any visible wire damage without trying to correct it first.
Prepare the space by removing accessible storage from the approach and keeping children and pets away. Leave damaged door parts untouched. If the door is open or crooked, say so when arranging service rather than attempting to close it for the visit.
You can also explain what you have already checked: an obstruction removed, accessible lenses cleaned, and the relevant manual consulted. That prevents a symptom description from becoming an unsupported diagnosis.
Frequently Asked Questions
Why does my garage door open but refuse to close?
A blocked or interrupted safety-sensor signal can prevent normal closure even when the opener still opens the door. Check for accessible obstructions and lens contamination, then consult the exact opener manual; mechanical and opener faults can produce similar symptoms.
Does a blinking garage door sensor light mean the sensors are misaligned?
A blinking indicator does not have one universal meaning across garage door openers. Use the manufacturer instructions for your model and report which light blinks, when it changes, and whether the door moves.
Can I clean my garage door sensor lenses myself?
You can gently clean accessible lens exteriors with a soft, dry cloth while the door is stationary and the area is safe. Do not open the housings, pull wiring, spray cleaner inside, or adjust brackets.
How high should residential garage door safety sensors be?
Residential garage door photoelectric sensors are generally installed no higher than 6 inches above the floor under established residential safety guidance. Follow the exact opener instructions and have a professional assess an unsuitable installation rather than moving the sensors yourself.
Can I bypass the sensors until someone repairs them?
Do not bypass garage door safety sensors to restore powered closure. Keep the opening clear and request service instead of covering lenses, altering wiring, or using controls to defeat the safety interruption.
Does a sensor problem mean I need a new opener?
A sensor-related symptom does not establish that you need a new opener. The cause can be an obstruction, contamination, mounting damage, wiring damage, a sensor failure, or a separate door fault.
Who handles persistent garage door sensor problems in Lexington?
Derby Strong provides garage door repair and opener service in Lexington. Request professional diagnosis when safe obstruction and lens checks do not resolve closure, and report any crooked door position, damaged wiring, or loose cable.
One Last Thing Before You Decide
Photograph the indicators before the symptom disappears. An intermittent failure is easier to describe with a clear record of the lights, doorway conditions, and opener message than with a guess about which part failed.
After repair, ask the technician to demonstrate the safety checks specified by your opener manufacturer. A door that closes again is not the whole result: its obstruction protection must function correctly too.